

Coffee Brew Methods for Camping
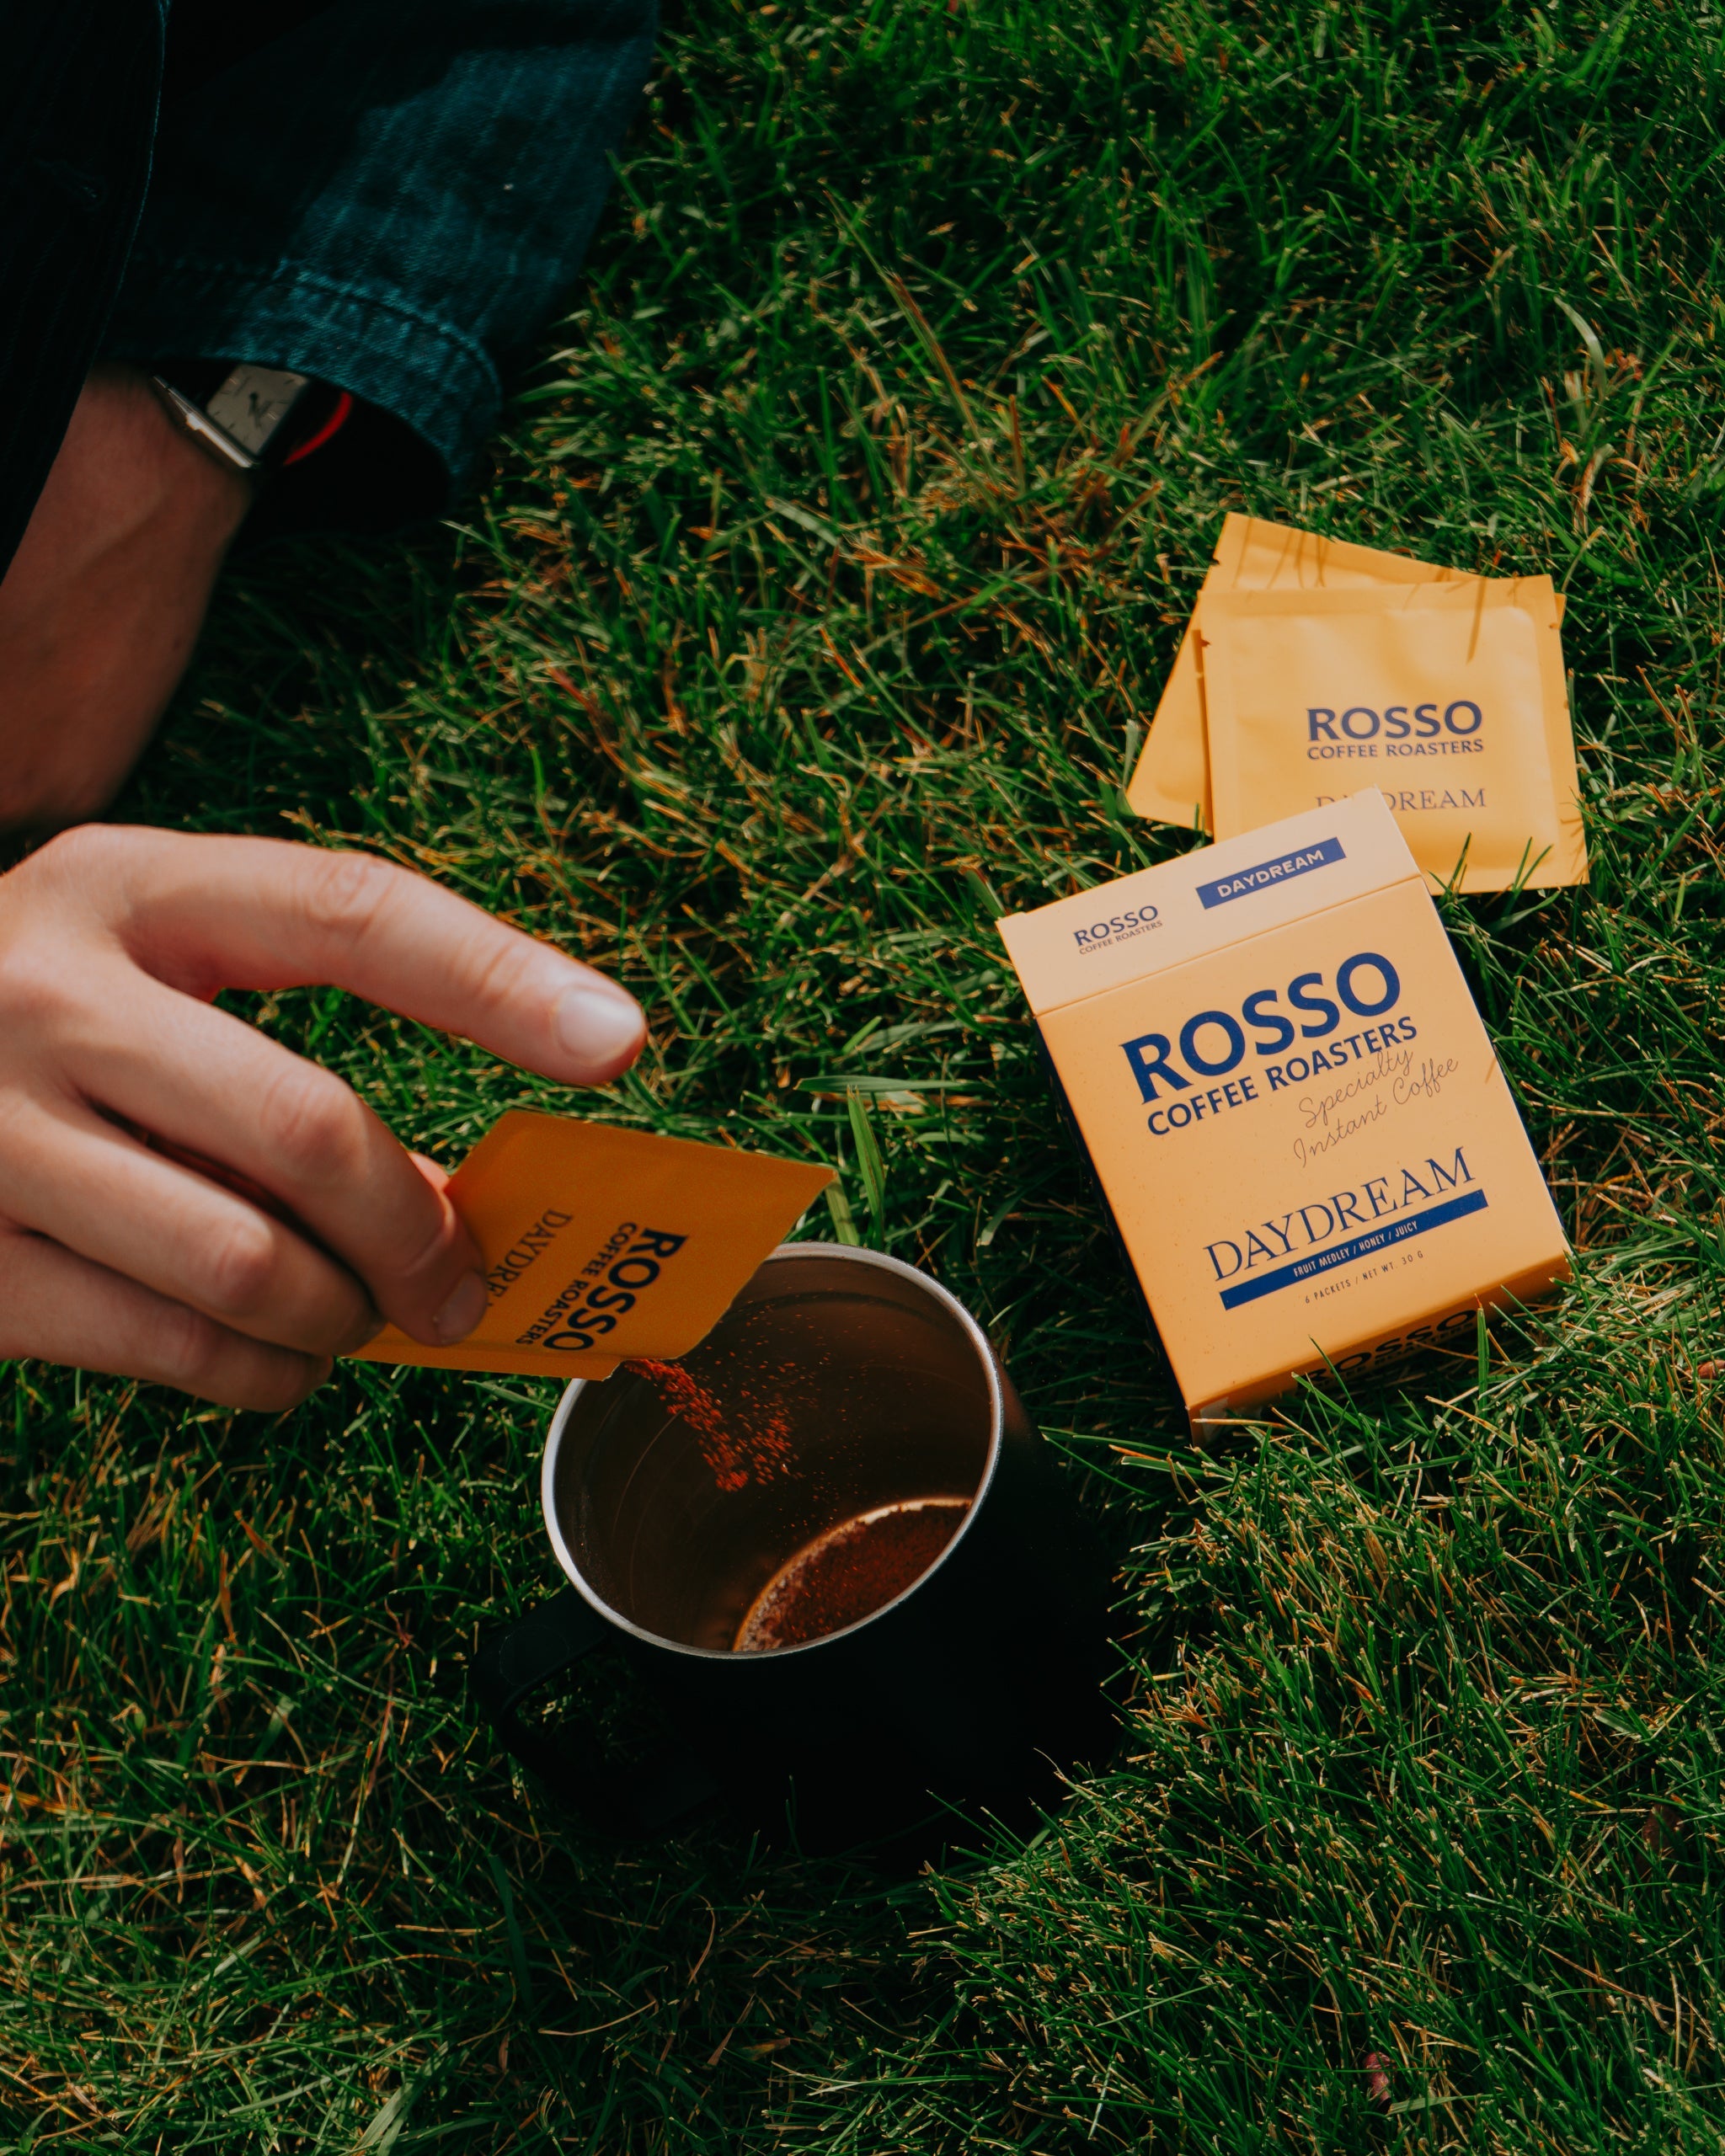
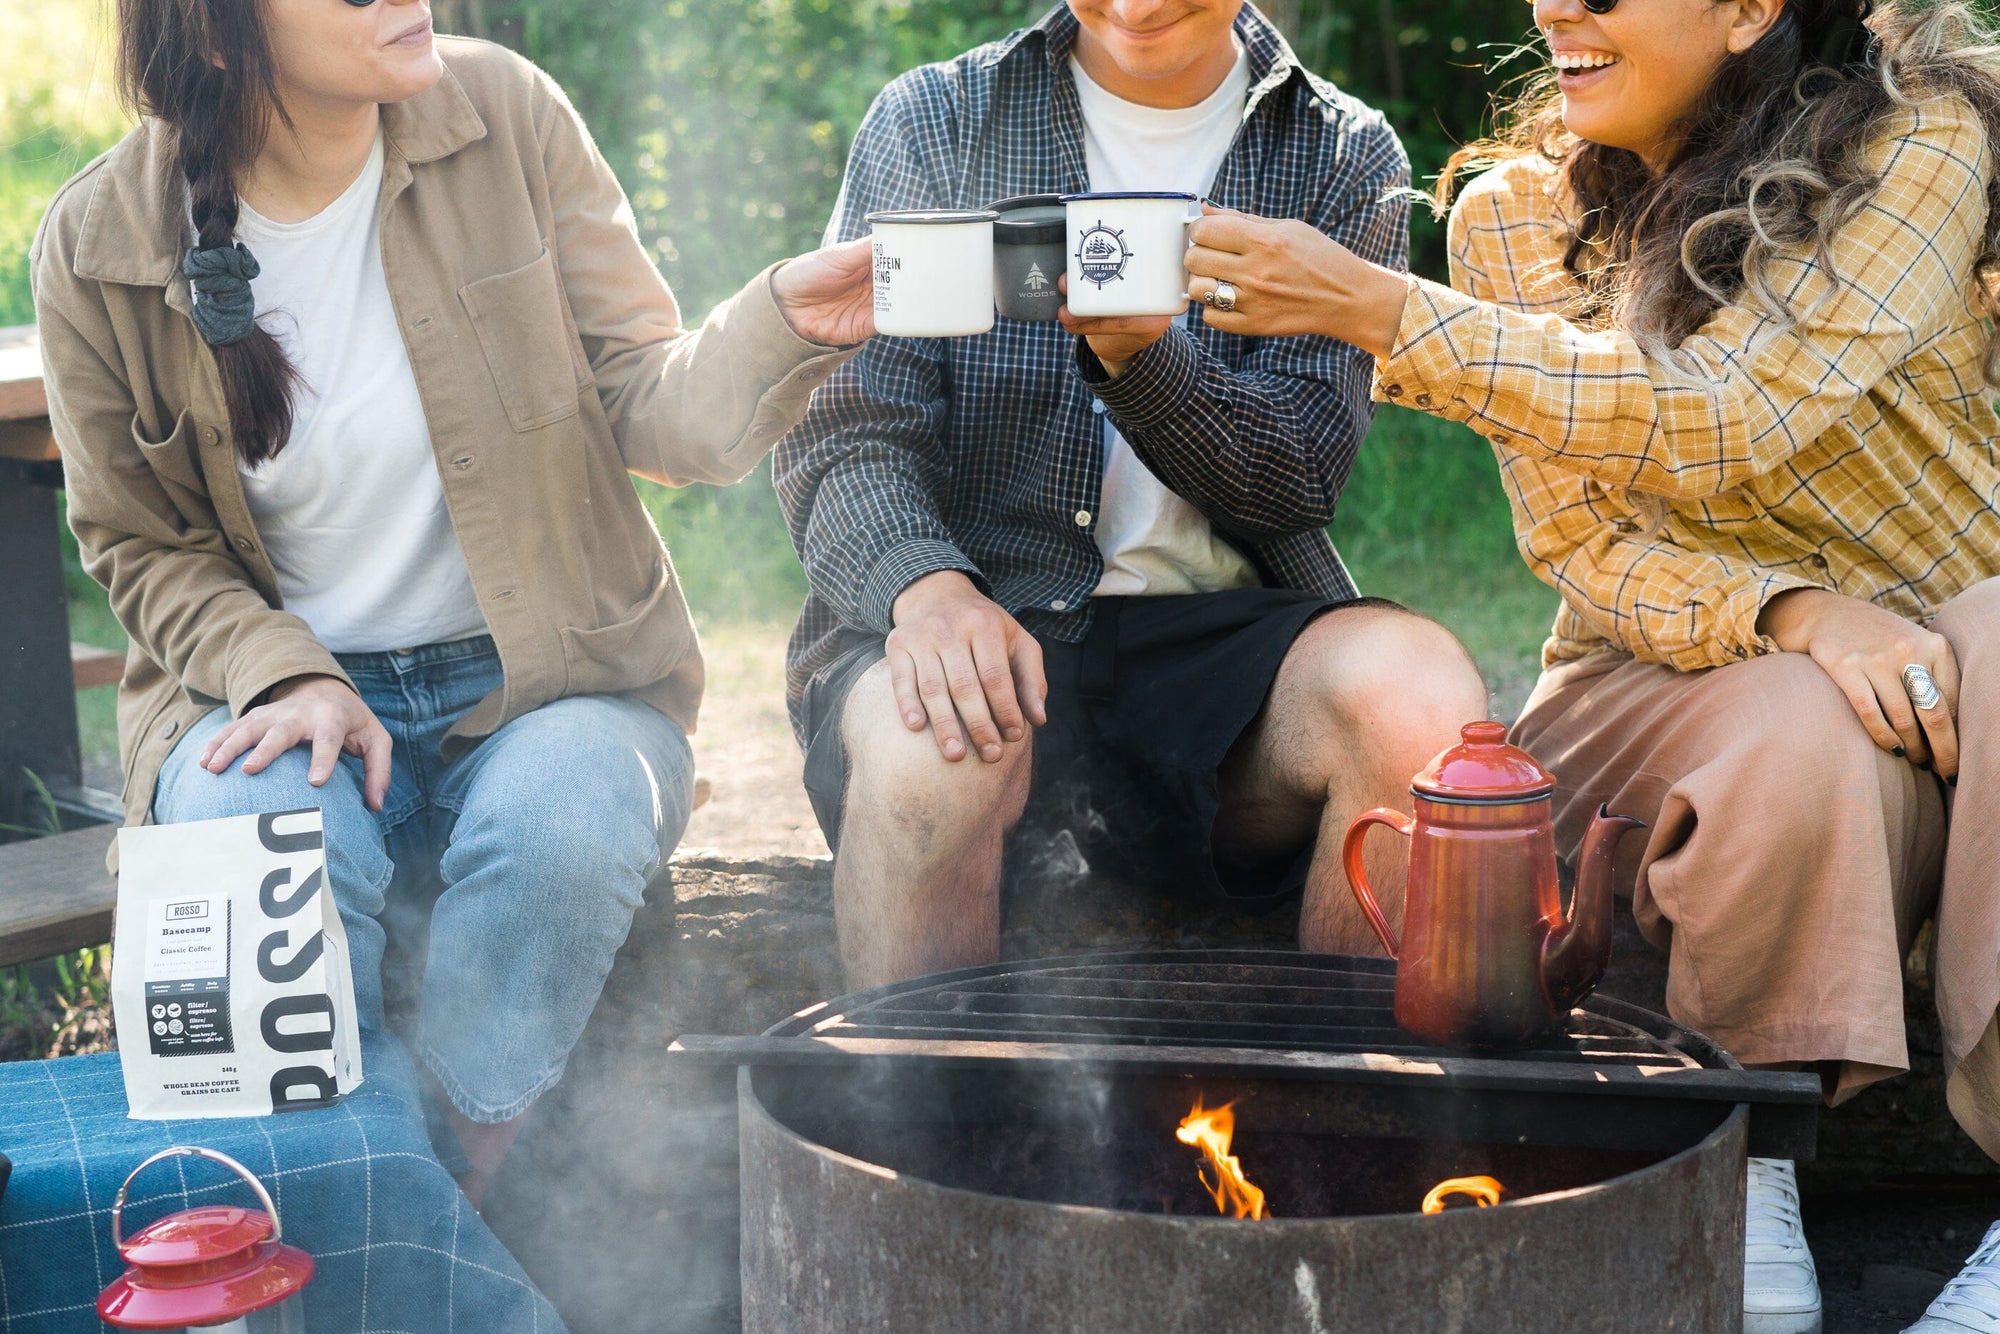
Well folks, winter is officially behind us and you know what that means — it’s camping season! And we couldn’t be more excited to get outdoors. So, we’ve got you covered with some easy and delicious brew recipes to enjoy while you breathe in that piney, fresh mountain air!
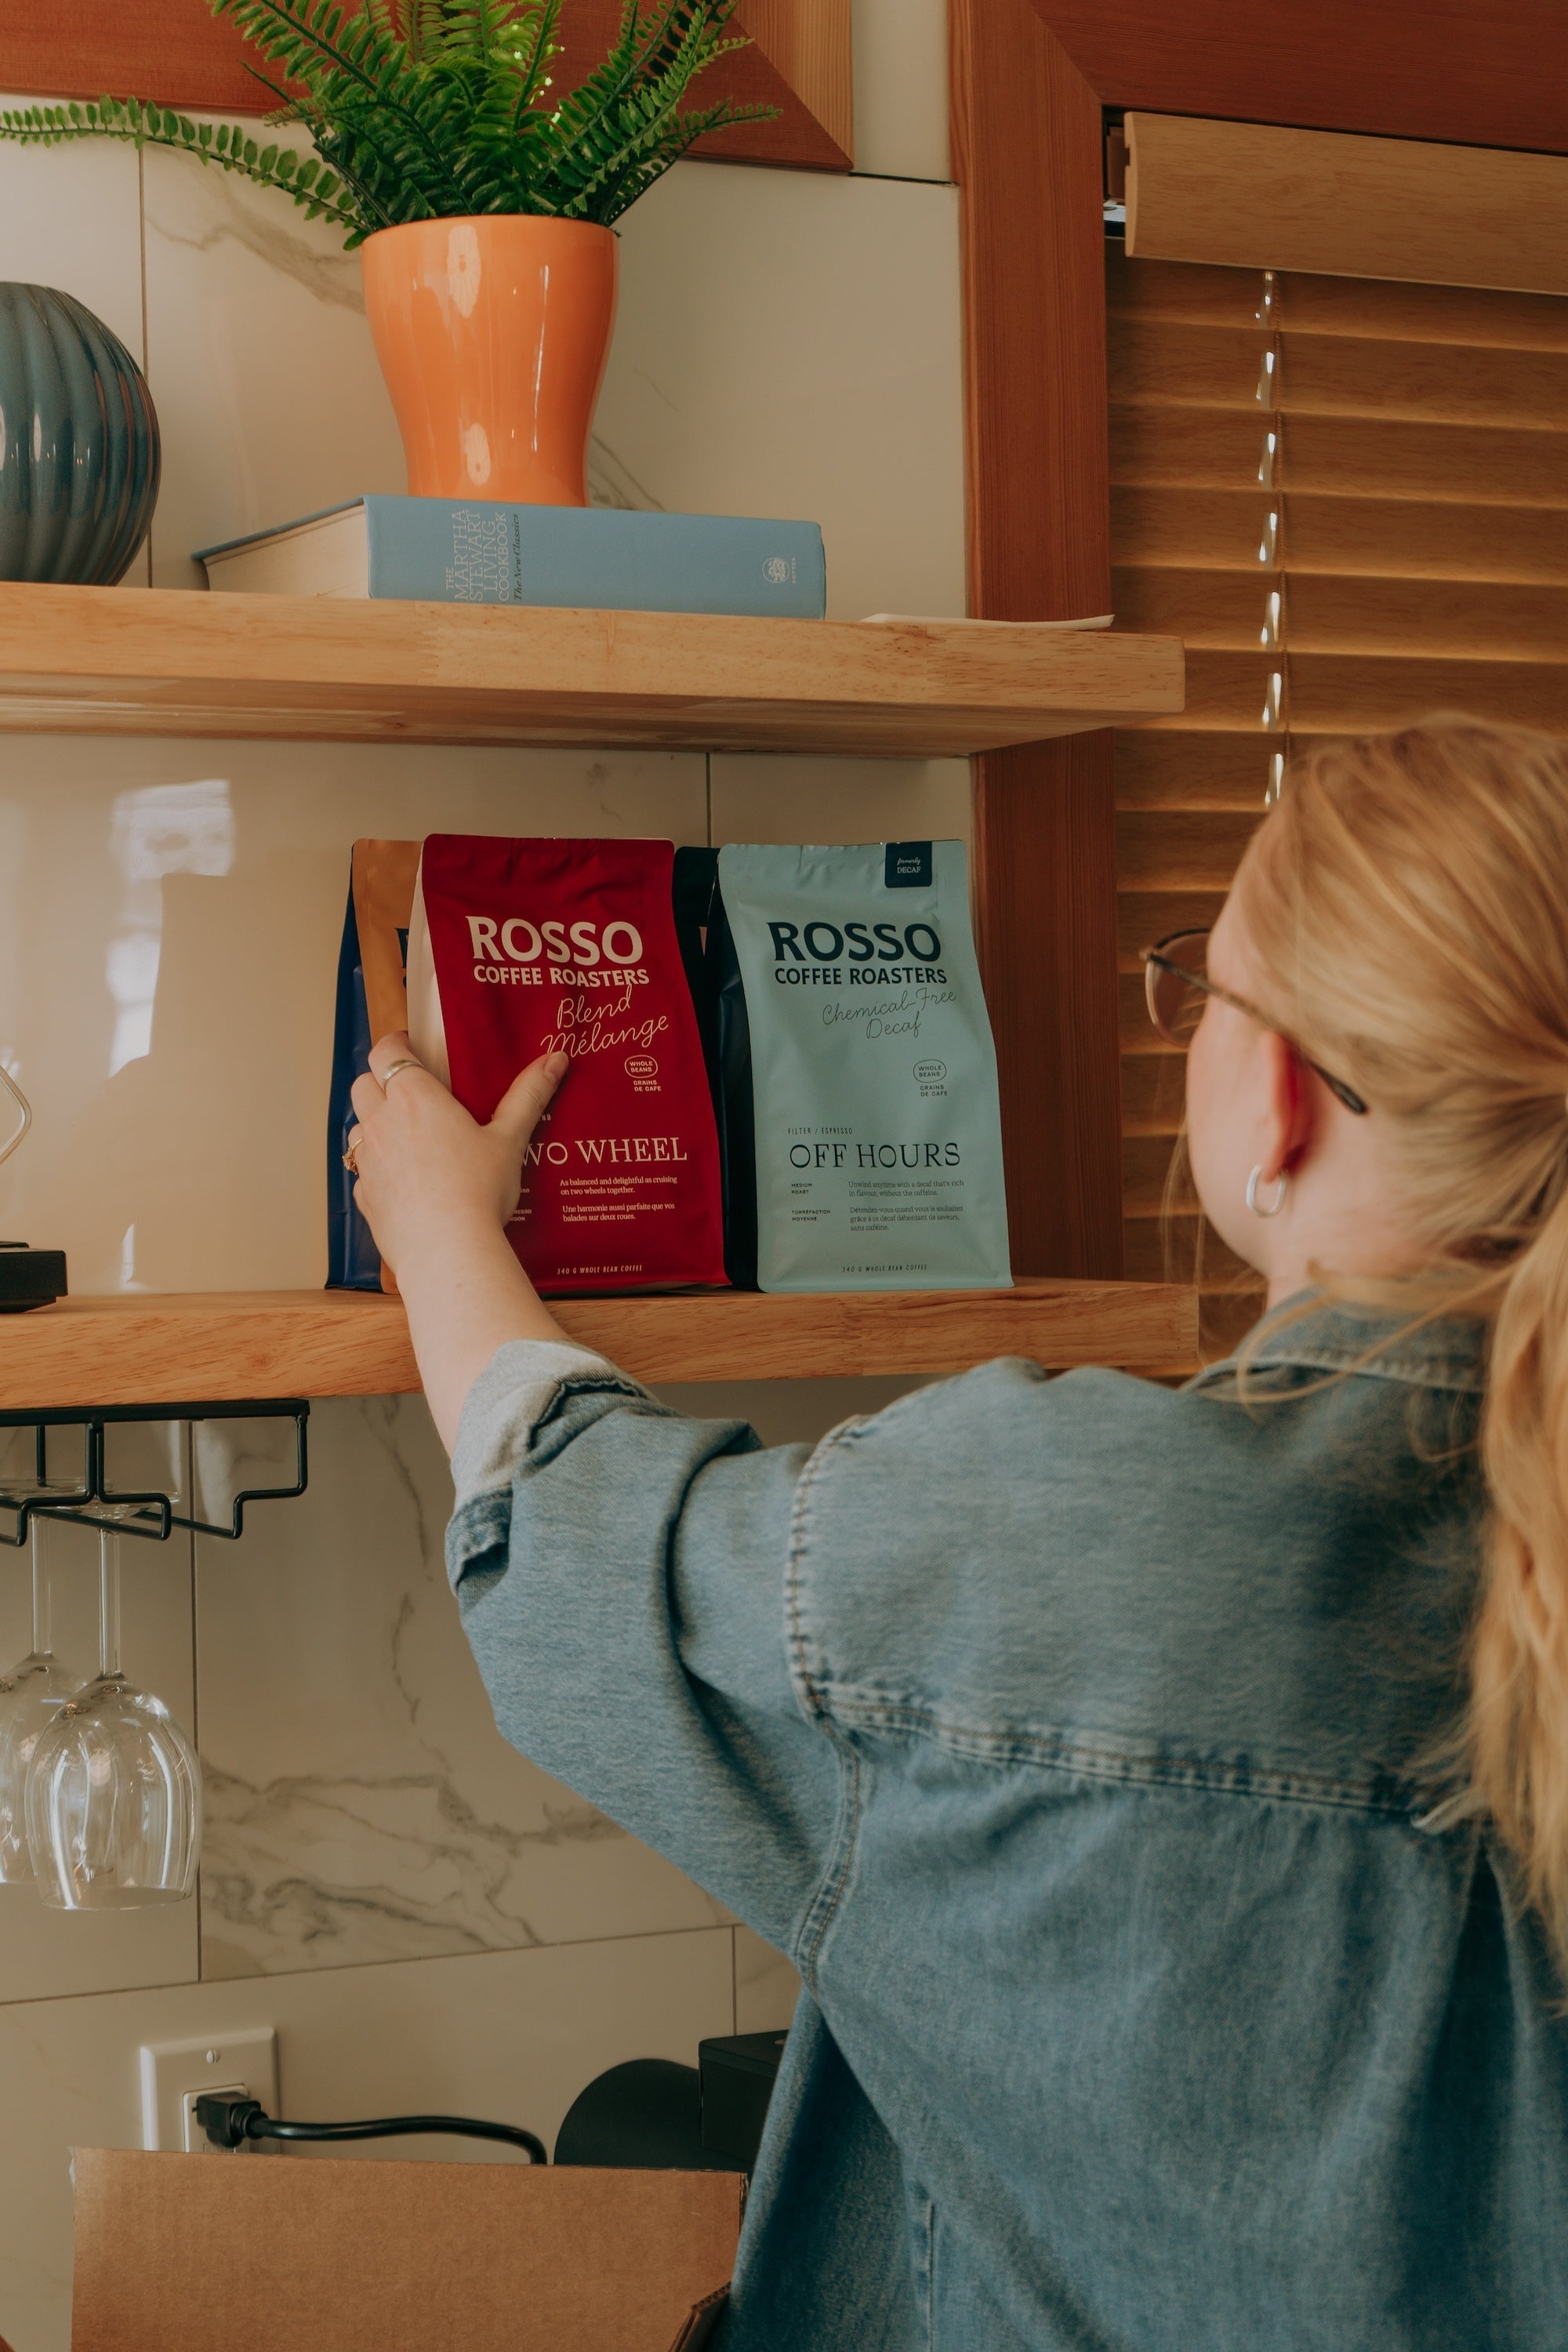
I don't know about you, but I'm a camping lifer. I've camped at all ages in all kinds of incredible spots around the world. North America, the UK, Southeast Asia, Brazil, even on a mountain at the border between Azerbaijan and Russia. For me, there's nothing that parallels waking up to the early morning sounds of nature and watching the sun come up with a hot, delicious cup of coffee in hand. I've also tried all kinds of different coffee brewing methods. Instant coffee, coffee in a bag, french press, AeroPress, Clever Dripper. You name it. And I can tell you that the mountains are twice as good when that early morning coffee is clear, crisp and distinctive. The methods that have worked for me time and time again are AeroPress and Clever Dripper.Whether you’re going backpacking or camping, our recipes for these two methods, curated by our head trainer, will be as easy as 1,2,3. Check them out below:

Type/Coffee Brewer: AeroPress
What You’ll Need:
- Coffee Beans
- Hand grinder or pre-ground beans
- AeroPress brewer
- AeroPress filters
- Hot Water
Method:
(makes one cup of coffee)
Before heading out on your adventure, you’ll either need to pack your hand grinder - we like to use the Timemore Hand Grinder - or you’ll need to pre-grind your choice of coffee beans. If you’re pre-grinding beans, you’ll want to set the grind to the same setting as you would for an AeroPress or Pour Over (medium grind).
Once you’re out in the woods, breathing in that crystal clear air, you’re ready to make your coffee. If you pre-ground your beans, great! If you brought a hand grinder, also great! For the Timemore Hand Grinder, you can fill the base of the grinder about halfway full (15g) to the grind setting of 17. (For the grind setting, you want to turn the grind dial on the hand grinder to the finest grind setting and then turn it back for 17 clicks.) Screw the lid on top. Now you’re ready to hand crank your coffee from beans to a fine powder. Set the grinds aside.

Next, find your AeroPress filter and insert it into the circular basket of the AeroPress and screw closed. Place the AeroPress on top of your mug and pour the coffee grinds in.

Boil your hot water over the fire in your choice of kettle. We like to use the Kalita Pelican Pot.

Then fill up the AeroPress to the #4 written on the side of the AeroPress.

Let the grinds sit for 1 minute and 30 seconds. Then take the second part of the AeroPress (the plunger) and start pressing down very gently and slowly.

And voila! Your cup of coffee is ready! So light a fire and let it and this cup of coffee warm you up.
Type/Coffee Brewer: Clever Dripper
What You’ll Need:
- Coffee Beans
- Hand Grinder
- Clever Dripper
- Filter
- Hot Water
Method:
(makes 2 cups of coffee)
The same drill as above. You’ll want to pack your hand grinder or pre-grind your beans before heading out! If pre-grinding beans, be sure to set the grind to an AeroPress or Pour Over (medium grind) setting.
Once you’ve climbed out of your tent and curled up around the fire, it’s time to start brewing your coffee. If you brought your TimeMore Hand Grinder you’re going to fill the base of the grinder almost to the top, leaving about a centimetre of space from the top (25g). We’re going to set the grind to 18 this time. (So again, turn the dial to the finest grind and turn it back 18 clicks from there.) Then, hand crack those beans into grinds. Set the grinds aside for now and start prepping your Clever Dripper.
Take the Clever Dripper and set it on your picnic table. Next take your standard size #4 filter (which can be found at your local grocery store) and put it in the clever dripper. Boil your hot water over the fire. Whether it be the Pelican Pot or whatever other kettle you like. Then pre-wet the filter.
After the filter is wet, you’re going to fill the Clever Dripper up with water until about an inch from the top (or just below where the pot’s grooves end). We want to put hot water in the pot first, because it will cause the brewed coffee to have a quicker draw down time and will prevent clogging.

Now it’s time to bring those coffee grinds back into the picture. Pour the grinds onto the hot water, so it’s resting on top of the water.

Take a spoon (or stick from the forest) and stir the grinds around until they’re mixed in with the water and let the coffee sit for two minutes.

During the two minutes, feel free to pick up the Clever Dripper a couple times and give it a little wiggle. This will help with mixing the grinds and water together.
Has it been two minutes?? Great! Rest the dripper on top of your mug and enjoy your coffee and that delicious, fresh air!
